GDScript:Move an object in 2D
Explains how to move the most basic 2D node.
Make the image move when you press left, right, up, or down on the keyboard.
Advance preparation
Create a project and add Node2D / KinematicBody2D / Icon nodes.
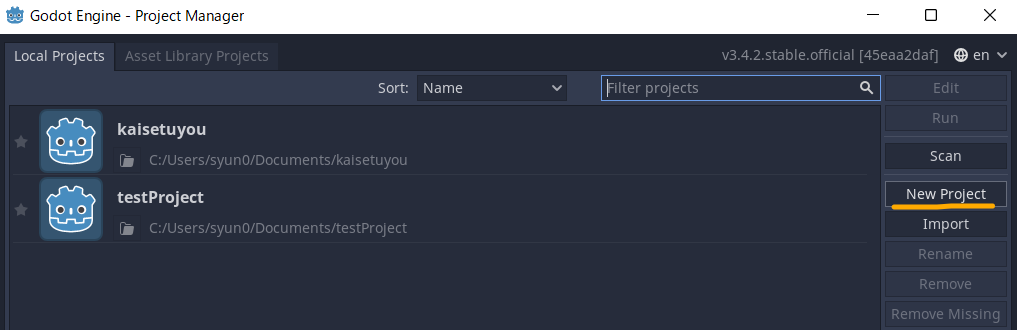
1.Create Project
- Select "New Project"
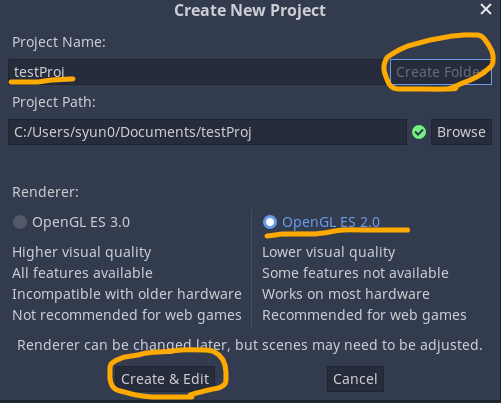
- Enter an appropriate project name.
- Click Create Folder.
- Select "OpenGL ES 2.0".
- Select "Creat & Edit".
2.Add node
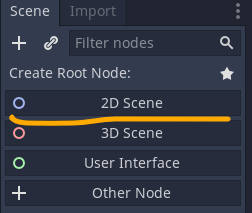
- Create 2D Scene.
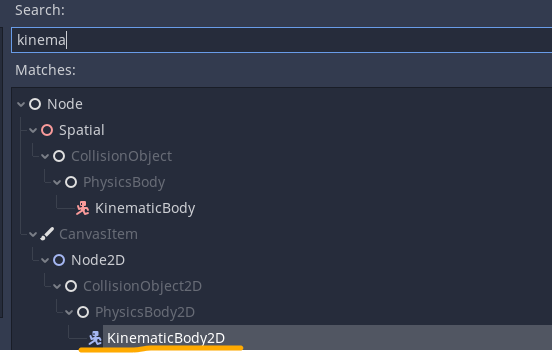
- Add Child node(Kinematic Body 2D) to "Node 2D".
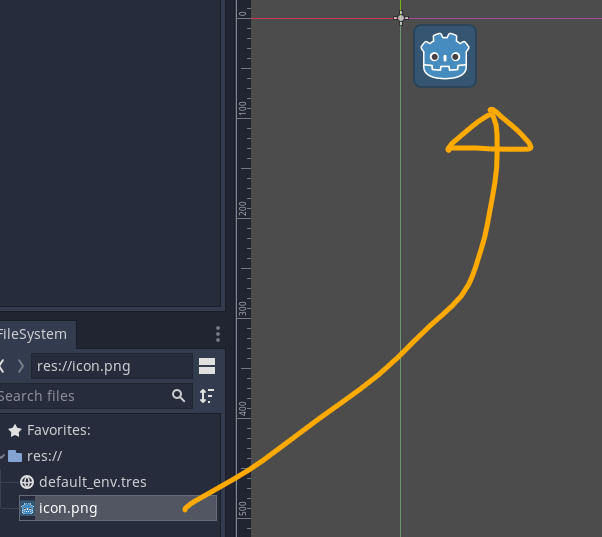
- Drag & Drop "Icon.png" to 2D-Area.
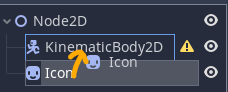
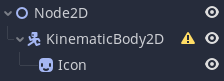
- Drag & Drop Icon-Node to KinematicBody2D.
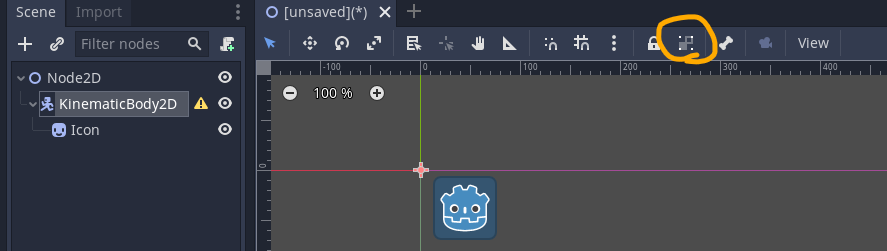
- Select KinematicBody2D and set so that child nodes cannot be selected.
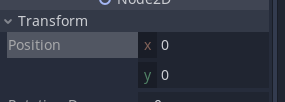
- Set the coordinates of both KinematicBody2D and Icon to (0,0).

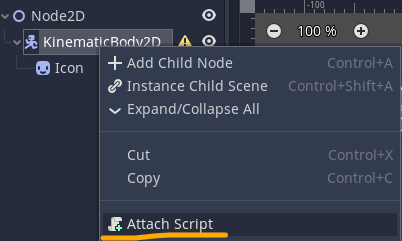
3.Attach GDScript file.
- Select & Right-Click KinematicBody2D,and select "Attach Script".
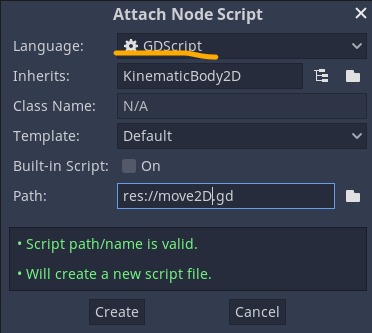
- Check select "Language:GDSctipt",and enter path sctipt name.
- Select "create" button.
Check input map
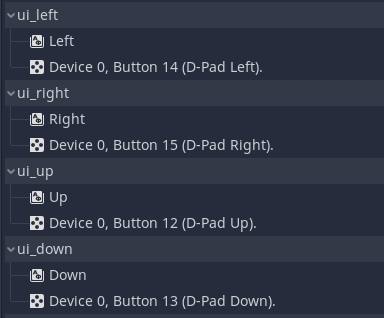
Check the event name corresponding to the key input.
1.Select Project -> Project Settings -> Tab:Input Map
2.Check the event names corresponding to the Up, Down, Left, and Right of the keyboard. It was "ui_up","ui_down","ui_left","ui_right" in my environment.
Definition of required variables
The variables required to move are the moving speed and the moving direction.
Declare each as follows.
var speed = 150
var velocity = Vector2()
Variables are declared in the form of var xxx = yyy. (xxx is the variable name, yyy is the value)
Addition of moving processing
The process that works in func _physics_process (delta): that is included by default is added.
"func _physics_process (delta): " is a function that is executed every frame. A place that changes from moment to moment.
func _physics_process(delta):
velocity = Vector2()
get_key()
velocity = velocity.normalized() * speed
move_and_slide(velocity)
From the first line
- vector variable initialization
- key input acquisition
- vector variable setting
- movement processing
Adding .normalized () to a vector variable normalizes it to a vector of length 1.
When there is an input such as lower right in get_key (), the length of the vector becomes √2 ≒ 1.414 ... and the moving speed becomes about 1.4 times. To prevent this, normalize with a vector of length 1 and then apply speed.
Use move_and_slide (vector) to move a 2D node.
Key input acquisition
Define the get_key () function required for key input processing.
There are two things to do: "acquisition of key input" and "specify the direction of the velocity parameter according to the acquired key input".
func get_key():
if Input.is_action_pressed("ui_right"):
velocity.x += 1
if Input.is_action_pressed("ui_left"):
velocity.x -= 1
if Input.is_action_pressed("ui_down"):
velocity.y += 1
if Input.is_action_pressed("ui_up"):
velocity.y -= 1
In the x-axis direction, plus is right and minus is left. In the y-axis direction, plus is down and minus is up.
* Note that the y-axis direction is the opposite of the mathematical meaning.
For example, if you press the right key, velocity = (1,0).
Overall
The following code is the one that wrote all the contents explained so far.
When this is executed, the image moves according to the key input.
extends KinematicBody2D
var speed = 150
var velocity = Vector2()
func _physics_process(delta):
velocity = Vector2()
get_key()
velocity = velocity.normalized() * speed
move_and_slide(velocity)
func get_key():
if Input.is_action_pressed("ui_right"):
velocity.x += 1
if Input.is_action_pressed("ui_left"):
velocity.x -= 1
if Input.is_action_pressed("ui_down"):
velocity.y += 1
if Input.is_action_pressed("ui_up"):
velocity.y -= 1
Follow me!